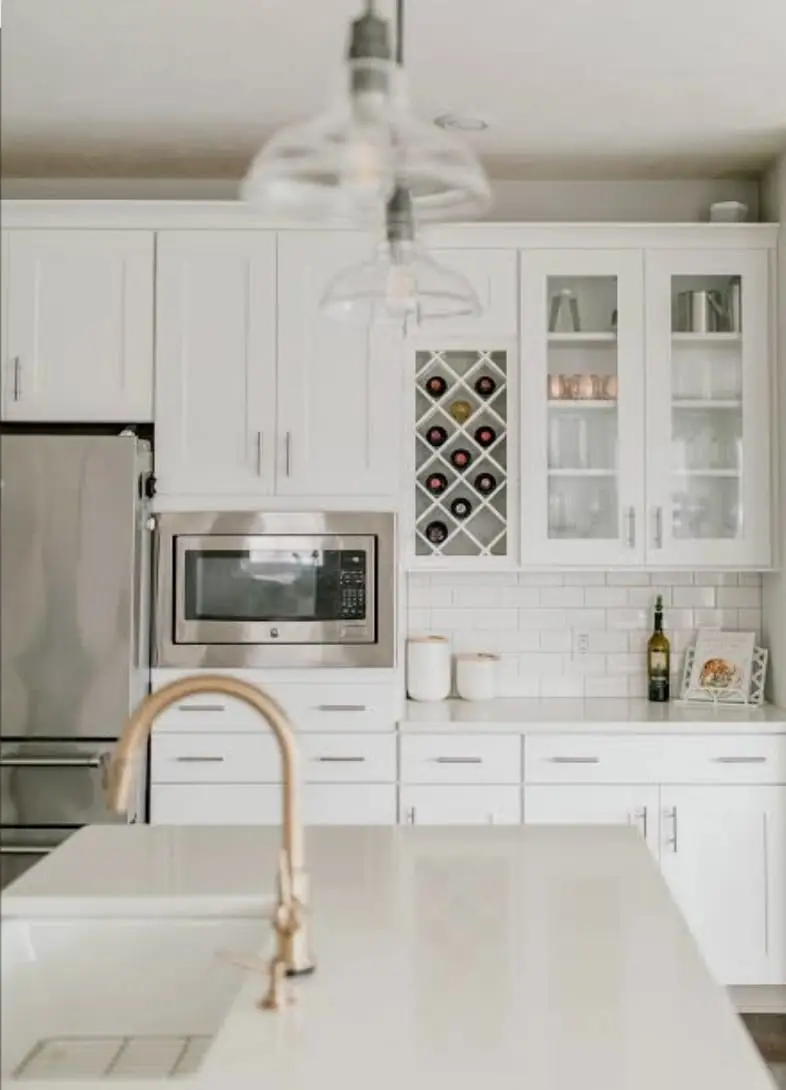
Planning to give your kitchen a facelift with freshly painted cabinets? Before you dive in, it’s essential to prepare properly to ensure a long-lasting, beautiful finish. This guide walks you through the necessary steps to get your kitchen cabinets ready for painting.
Remove Cabinet Doors and Hardware
Start by taking off the cabinet doors and removing all hardware, including handles and hinges. Labeling each piece can save you time and stress during reassembly.
Not only does removing the doors facilitate easier painting, but it also allows you to work on a stable surface. This is particularly useful when sanding and priming later on. You might find it helpful to photograph each door and its accompanying hardware, keeping everything organized and ensuring a smooth process when putting it all back together.
It’s a great opportunity to assess the condition of your cabinet doors and decide if any pieces need replacing or additional work. This strategic planning can help make the entire painting process less daunting and more efficient.
Clean Thoroughly
Use a degreaser or a mixture of soap and water to clean the surfaces. This step is crucial to remove grease, dirt, and other residues that can hinder paint adhesion.
Cleaning might seem like an obvious step, but it is often underestimated. Kitchen cabinets are regularly exposed to cooking fumes, oils, and grime, creating layers that can be stubborn to remove. Consider using a cleaner specifically designed for kitchens to ensure that every spot is residue-free.
Allow the cabinets to dry completely after cleaning. Moisture left on the surface can interfere with primer and paint application, leading to a less durable finish. So, give ample time for drying or use a fan to speed up the process.
Sand Surfaces Smooth
Sanding the cabinet surfaces creates a smooth base for paint application. Focus on rough spots and areas with chipped finishes to ensure even paint coverage.
The importance of sanding cannot be overstated. It helps the primer and paint adhere better by creating a textured finish on the surface. Start with a medium-grit sandpaper to tackle larger imperfections, then switch to a fine-grit for a smooth finish.
Once you’ve sanded, don’t forget to wipe down the surfaces again. Use a damp cloth or tack cloth to remove any dust particles left behind. This final wipe ensures a clean surface, ready for priming.
Remember to wear a protective mask to avoid inhaling dust particles, especially if sanding for an extended period. Safety should always be a priority!
Fill Imperfections
Inspect the surfaces for cracks, holes, or dents. Use wood filler to patch these areas, sanding them down once the filler is dry for a seamless surface.
Before filling, ensure that surfaces are completely dry and free from dust or debris. This will enhance the efficacy of the wood filler, providing a solid base that blends well with the rest of the cabinet surface.
After applying the filler, it’s crucial to allow sufficient drying time. Some fillers dry quickly, while others may require a few hours. Read the product instructions carefully to ensure optimal results.
Once filled and sanded, confirm the surface feels smooth to the touch. If necessary, repeat filling and sanding until the desired smoothness is achieved. This attention to detail will show in the final finish.
Apply a Quality Primer
Priming your cabinets is a vital step that ensures better paint adhesion and a more vibrant finish. Opt for a primer that suits your cabinet material.
Make different primer selections based on whether your cabinets are made of wood, laminate, or metal. Each material has its own nuances that can affect how the primer bonds and sets. It’s worth consulting with a professional if you’re uncertain.
Apply the primer evenly across all surfaces using a sprayer or roller, depending on your preference and the size of the cabinet. Using a brush can help reach those tricky corners and edges.
Allow the primer to dry completely—this is non-negotiable! Drying time can vary by product, so checking the manufacturer’s guidelines will help prevent peeling or bubbling during paint application. Proper priming is your assurance of a quality, long-lasting paint job.
Wrapping Up Kitchen Cabinet Prep
With thorough preparation, you can transform your kitchen cabinets into a stunning focal point. Taking each step seriously ensures your paint job not only looks fantastic but stands the test of time.


