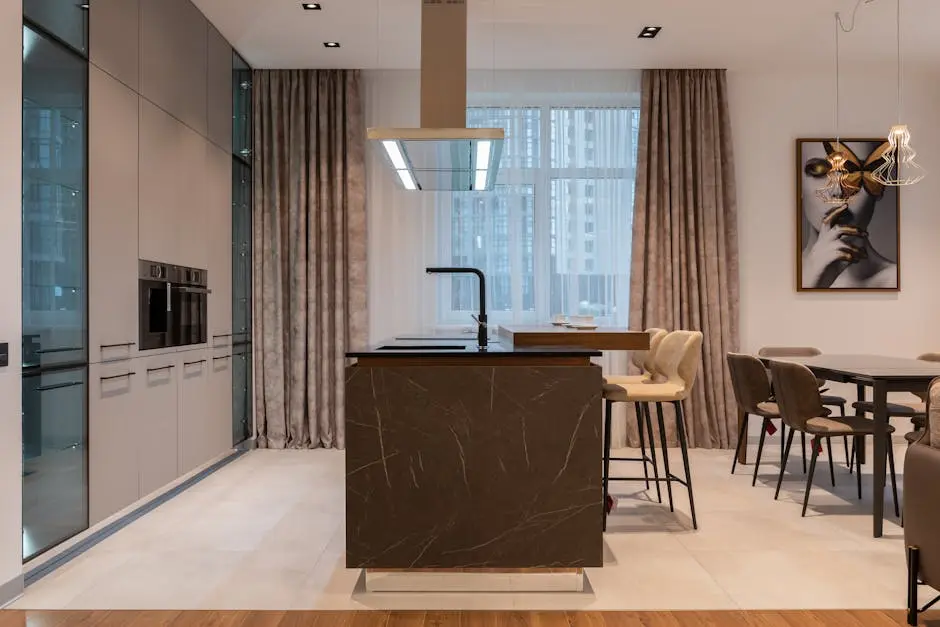
Transforming your cabinets through a fresh coat of paint can dramatically change the aesthetics of your home. If you reside in Winter Park, painting your cabinets in a way that reflects your personal style while withstanding the local climate can be both exciting and challenging. In this blog, we’ll explore tips to achieve beautiful results with your cabinet painting project.
1. Choosing the Right Paint for Your Climate
When painting cabinets in Winter Park, it’s crucial to select a paint that can handle the humidity and temperature changes. Look for high-quality paints designed for durability and flexibility. Specifically, using paints labeled for high moisture areas will offer extra protection against potential weather-related issues. Additionally, these paints often include mildewcides to prevent the growth of mold, a common concern in humid environments. Consider acrylic latex paints, which dry quickly and are resistant to cracking, providing the perfect balance of durability and flexibility for your cabinets.
Before settling on paint, assessing the location of your cabinets is significant. Cabinets exposed to sunlight might require UV-resistant options to prevent fading over time. Consulting a professional can provide insights into the best paint choices based on specific needs or potential challenges your kitchen might face seasonally in Winter Park.
2. Preparing Your Cabinets for a Smooth Finish
Preparation is key to a professional-looking finish. Start by cleaning your cabinets thoroughly to remove grease and grime, which can prevent paint from adhering properly. Using a degreaser or a simple mix of dish soap and water can effectively clean surfaces while being gentle on materials. After cleaning, sanding your cabinets lightly ensures a surface that the paint can adhere to easily, ensuring a smooth finish. Be sure to wear a mask while sanding to avoid inhaling particles.
Taking time to carefully remove any hardware like handles or hinges will make the painting process much easier. Once removed, label each piece to ensure easy reassembly later. Apply painter’s tape around edges and on adjacent walls or floors to protect these from accidental splatters or drips, keeping your workspace tidy and precise.
3. Using Primer for Better Adhesion and Longevity
Applying a quality primer is a step you shouldn’t skip. Primer not only helps the paint stick better but also enhances the paint’s durability, especially important for areas like Winter Park. A well-chosen primer can block unwanted stains or wood tannins from bleeding through the final coat, ensuring a clean and vibrant appearance. Opt for a shellac-based primer for superior stain-blocking abilities, which can be crucial for painted wood surfaces.
Primers also provide an excellent bonding surface for topcoats, allowing the paint to adhere evenly and smoothly. Reading through expert opinions and guides can help you make the best primer choice for your project. Always allow the primer to dry completely before moving on to your chosen paint color.
4. Selecting Colors to Complement Your Space
Consider colors that match your existing decor while adding a touch of personality. Look into color trends that are popular in Winter Park to keep your home stylish. Blues, grays, and greens are currently in vogue, providing a timeless backdrop that complements both modern and traditional decor. For a bold statement, contrasting darker hues with lighter accents can add depth and visual interest to your space.
If aiming to make your kitchen appear larger, choosing lighter colors can create an illusion of openness and airiness. For those interested in keeping up with the latest designs, checking out recent home design trends can offer valuable inspiration. Incorporating elements of nature with your color palette, like wood textures or soft earth tones, can also bring warmth and cohesiveness to the room.
5. Mastering the Art of Brush and Roller Techniques
Using the right brush and roller technique can make a huge difference in the final appearance of your cabinets. Practice the technique to ensure even coverage and minimal brush marks. A few techniques include using a combination of brushes and small rollers to cover large, flat surfaces efficiently, while cutting in detailed or recessed areas carefully.
For cabinets, a high-density foam roller can be your best friend, as it helps to avoid the textured finish some other roller materials might leave. Reading up on professional painting techniques can provide insights on achieving a seamless finish. When painting, work in the direction of the wood grain to maintain a consistent look that elevates the final result.
6. Addressing Open Weather Conditions
Winter Park weather can be unpredictable, so aim to paint on days with consistent temperatures and low humidity. This can help prevent issues like paint cracking or peeling. Checking the weather forecast regularly and planning your painting accordingly is essential. Painting in the right conditions will not only ensure a smoother application but also a more durable finish.
When painting indoors, maintaining a controlled environment by using fans or a dehumidifier helps to keep humidity in check. For those who prefer doing the project outdoors, choose early morning or late afternoon times to avoid direct sunlight that can dry the paint too quickly and lead to adhesion problems. For additional insight, brush up on local weather impact on painting projects
7. Securing a Professional Finish with Protective Coatings
Finish your project with a topcoat or sealer to protect your cabinets from scratches and daily wear. This coating not only adds shine but also ensures long-lasting beauty. Polyurethane or polycrylic sealants are often recommended, offering varying degrees of luster from matte to high gloss. It’s worthwhile to consider these finishes based on the look and level of protection desired.
When applying the protective coat, make sure your painted surface is completely dry before proceeding, usually after 24 to 48 hours of drying time. Use a clean brush or applicator to cover all areas evenly. This final step is not just about making your cabinets look good—it’s about preserving that beauty for years to come.


