Embarking on an interior painting journey is an exciting endeavor that can transform your space into a vibrant, personalized haven. However, even minor missteps can lead to unsatisfactory results or additional expenses. Let’s break down the common mistakes to avoid to ensure your painting project proceeds smoothly and delightfully.
1. Skipping Thorough Surface Preparation
Proper surface preparation is crucial for achieving a flawless finish. Failing to clean and patch surfaces can result in uneven paint application and durability issues. Before the paintbrush even touches the wall, the surface must be free from grime, dust, and flaking paint. You’ll want to fill any holes or cracks with spackle and sand them down for a smooth surface. Surface preparation is often overlooked, yet it’s a critical step that lays the foundation for everything that comes after. Neglecting this step could mean your fresh coat of paint won’t adhere properly, inevitably leading to frustration and more work down the road.
Beyond aesthetics, the lack of preparation can impact the functionality of your paint as well. The paint composition could be affected, leading to blotchy consistency and uneven color across different wall sections. Take advantage of guides and tips to ensure your surface is more than just paint-ready; it’s paint-ideal.
2. Choosing the Wrong Paint Type
Different rooms and surfaces require specific types of paint. Understanding the options for gloss, finish, and suitability will save you from disappointment and frequent repainting. For instance, bathrooms and kitchens benefit from satin or semi-gloss finishes, which resist moisture better than matte alternatives. If you’re painting a child’s room, opt for washable paints to make cleaning easier without compromising on vibrancy or quality.
One of the most common errors is assuming that all paints serve the same purpose. Glossy, matte, eggshell—they’re not just labels; each serves distinct needs that align with room functions and desired aesthetics. Understanding paint finishes can save you time and money, ensuring a long-lasting coat that’s easy to maintain.
3. Ignoring the Importance of Primer
Skipping primer can lead to poor adhesion and uneven color. A good primer sets the stage for the paint to shine, especially on new or repaired surfaces. Often viewed as simply an ‘extra step’, the use of primer actually anchors the entire painting process by providing a ‘sticky’ base that enhances the paint’s adherence to the wall.
There are specialty primers available for different needs, such as those designed to block stains or that seal surfaces against moisture. Selecting the correct primer can eliminate the need for an additional coat of paint, helping to streamline the process while offering superior results. It’s always a good idea to test a small inconspicuous area to see how the primer interacts with your selected paint.
4. Being Impatient with Drying Times
Rushing through drying times can ruin your hard work. Allowing each coat to dry thoroughly ensures a smooth and durable finish. It’s easy to get excited and want the project done quickly, but impatience can lead to smudges, streaks, and imperfections. Resist the urge to paint a second coat before the first has adequately dried—this might take a few hours or even overnight, depending on room temperature, humidity, and paint type.
Understanding the distinction between touch-dry and completely dry is vital. Each layer of paint functions as the canvas for the next. Rushing this process could interfere with the chemical bond formation needed for durability. Factors such as compatibility with existing paints, temperature, and airflow should influence your timing decisions. Make sure to allocate ample drying time in your project schedule.
5. Neglecting Proper Ventilation
Proper ventilation is key to both safety and a smooth drying process. Ensure that the room is well-ventilated to avoid fume buildup and accelerated drying. Poor airflow can not only result in uneven paint distribution but also poses serious health risks due to the emission of volatile organic compounds (VOCs) commonly found in paints.
Consider installing temporary fans or ensuring windows are opened to promote a fresh air exchange, reducing the possibility of paint fumes lingering. It’s not just about having good air circulation but ensuring it’s consistent throughout the painting process. This practice makes the environment safer both during and after the project.
6. Overlooking the Role of Quality Tools
Using low-quality brushes or rollers can lead to streaks and uneven coverage. Invest in quality tools for the best results and a more enjoyable painting experience. Remember, the finish you achieve is only as good as the tool you use. While it might be tempting to save money by purchasing cheaper options, quality brushes provide superior coverage, smoother finishes, and ensure longevity and ease of use.
There’s an artistry in how consistently high-grade tools interact with the paint and your technique. Gauge a brush’s quality by the feel of its bristles, the sturdiness of the handle, and its balance. Expert painters swear by reputable brands that promise quality materials and proven results.
7. Misjudging the Amount of Paint Needed
Underestimating or overestimating paint can cause delays and unnecessary costs. Accurate calculations based on room size will help avoid these issues. Utilizing paint calculators available online can be a great start to getting an approximate idea of your needs (calculate your paint needs).
Keep in mind that factors such as wall texture and paint type can affect coverage. Porous surfaces like drywall may absorb more paint, necessitating extra gallons to achieve a unified look. Test first to gauge how much product is used per application before committing to large-scale painting.
8. Overlooking Color Samples
Colors can appear differently in various lighting conditions. Testing samples ensures you choose a hue that complements your space perfectly. It’s fascinating how the same color paint can change drastically between natural sunlight, incandescent, or LED light, altering the mood and perception of a room.
Apply sample swatches over existing colors and review them at different times of the day to determine your preference under various lighting conditions. Color sampling is an essential part of the decision-making process and can prevent color regrets down the line.
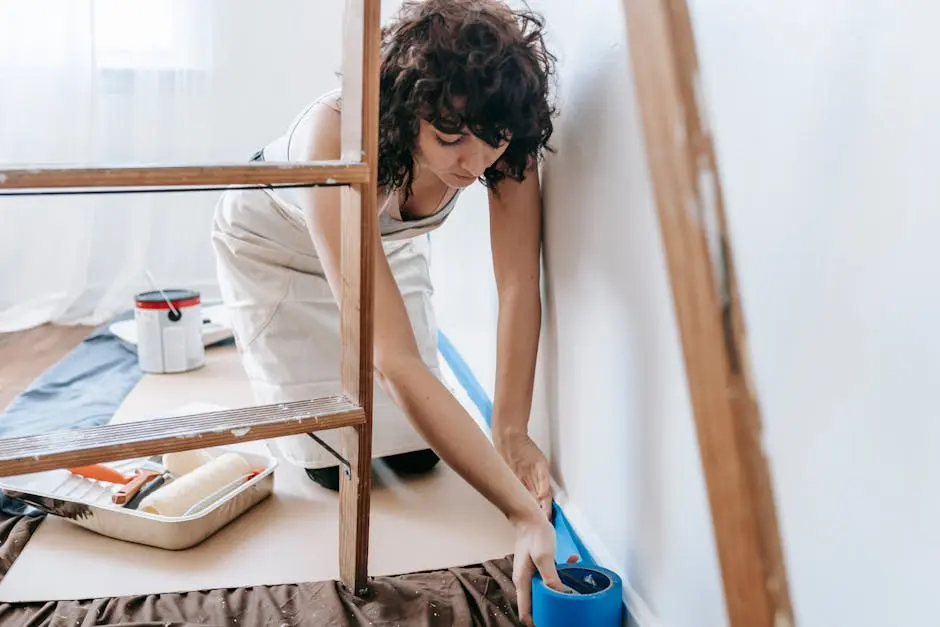
9. Forgetting to Protect Furniture and Floors
Properly covering furniture and floors prevents accidental splatters and saves you time in cleaning up afterward. Don’t skip this essential step. Relocate heavy items or secure them with drop cloths or plastic sheeting to guard against drips and spillages.
The simple act of floor protection—whether it be through drop cloths, old sheets, or specific canvas covers—creates a safeguard against mishaps. Floors and furniture are significant investments, and protecting them ensures prolonged beauty and function, even during a home update. Secure all coverings with tape or weights to prevent slippage.
10. Not Checking for Lead Paint
Safety first: If you’re dealing with an older home, ensure that existing paint does not contain lead. Professional guidance may be required in such cases. Properties built before 1978 are especially vulnerable to the risks of lead paint, which can be immensely dangerous when sanded or scraped.
Testing for lead through DIY kits or professional services ensures that exposure risk is minimized. Lead paint can pose severe health risks if disturbed, and knowing your paint’s history before starting your project is prudent. Hiring certified professionals for lead abatement can help manage any associated risks to ensure 100% safety throughout your renovation.
11. Rushing the Preparation of Painting Tools
Taking the time to properly prepare and maintain your tools can enhance your painting efficiency and results. Clean tools contribute to a smoother finish. Before embarking on your painting adventure, inspect all tools, from paint trays to brushes, to ensure they are in optimal condition.
Investing a few moments in prepping your materials could pay dividends in saving considerable time during and post-project. Keep your brushes soft, devoid of dried paint, and cleaned immediately after use to extend their lifespan immensely. Inspect rollers for frays, ensuring that they provide an even paint distribution to avoid streaks or breaks in the application.
12. Underestimating the Power of Patience
A successful painting project requires patience at each step—from planning to execution. Rushing can lead to mistakes that are costly and time-consuming to rectify. Whether it’s waiting for paint to dry or waiting to find the perfect color, having patience ensures that each decision made contributes positively to the end result.
Painting is not only about transforming a space but also about understanding and enjoying the process. Being patient during your project helps in maintaining the quality and beauty of your work. Embrace each step, allowing creativity and careful execution to fuse harmoniously.